This post contains a Amazon Affiliate links. This does not effect you in any way. However, if you make a purchase through this link, I receive a very small commission that keeps this blog running.
In Geometry, students have such a hard time visualizing the different parts of 3-dimensional shapes. My students always had a particularly hard time with pyramids. This cool trick really helps - and all you need is an envelope.
How to Create a 3D Pyramid Out of an Envelope
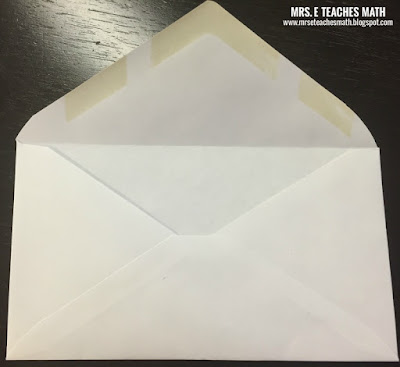
First, you need an envelope. You want the smaller kind, not the long type.
Fold the envelope in half one direction, then the other direction. You're trying to create a nice crease along the middle.
Fold the envelope so that the sticky side is facing out.
Cut along the edge of the flap.
Throw the top part away. Open the fold and make sure everything is cut nicely.
Fold the points down to the middle crease.
Open up the folds. Carefully pinch the middle and tuck one side inside of the other.
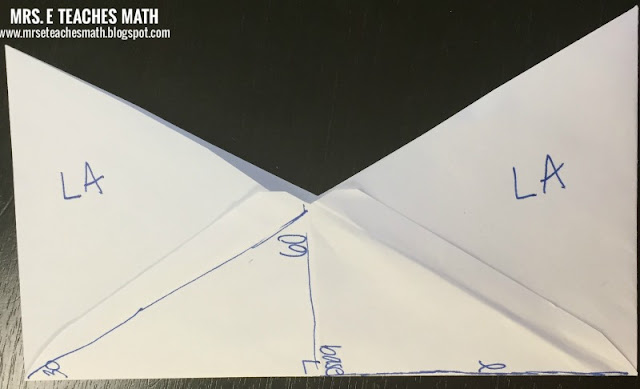
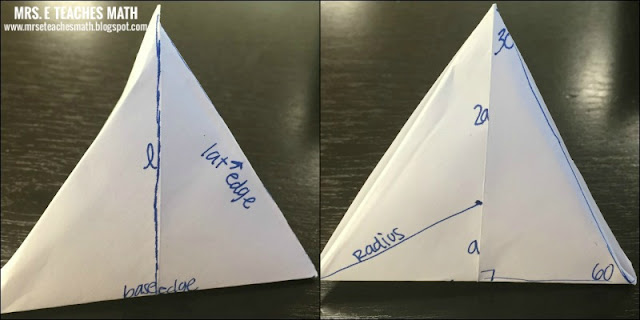
Now that the pyramid is folded, open it back up so that you can label all the faces. Label each side like the pictures below.
One of the things I really like about this pyramid is that it can be folded an unfolded as needed. Students can keep it in an interactive notebook or in a pocket of a binder.


